Istio学习之CRD1⃣️:VirtualService
Istio的自定义资源有五十多个,今天先对Network部分的VirtualService的学习做个记录。
介绍
首先献上官方文档:https://istio.io/latest/zh/docs/reference/config/networking/virtual-service/
VirtualService主要是定义了服务的路由规则,如果流量满足了我们设定的匹配规则,则会根据我们的设定将流量发送到服务注册表中的服务/版本
样例
apiVersion: networking.istio.io/v1alpha3
kind: VirtualService
metadata:
  name: reviews-route
spec:
    # host为必要字段,表示目标主机,尽量使用FQDN来进行服务引用,同个命名空间可以使用服务的短名称
  hosts:
  - reviews.prod.svc.cluster.local
  # HTTP的有序路由规则列表,对httpx,http2x,grpc,都是有效的,匹配规则从上往下
  http:
  - name: "reviews-v2-routes"
      # 匹配规则,有根据uri,header,host,port,queryParams,scheme等
      # 匹配规则有:exact精准匹配,prefix前缀匹配,regex正则匹配
    match:
    - uri:
        exact: "/wpcatalog"
    - uri:
        prefix: "/consumercatalog"
    # 重写HTTP URI和Authority标头。重写将在转发之前执行。
    rewrite:
      uri: "/newcatalog"
    # 重定向,重定向不能与重写一起使用
    redirect:
      uri: /v1/bookRatings
      authority: newratings.default.svc.cluster.local
    route:
    - destination:
        host: reviews.prod.svc.cluster.local
        subset: v2
      # 权重
      weight: 80
  - name: "reviews-v1-route"
    route:
    - destination:
        host: reviews.prod.svc.cluster.local
        subset: v1
    # cors
    corsPolicy:
      allowOrigin:
      - example.com
      allowMethods:
      - POST
      - GET
      allowCredentials: false
      allowHeaders:
      - X-Foo-Bar
      maxAge: "24h"

  # 应用到路由的网关,忽略默认使用默认网关
  gateways:
  - mygateway

  # 透传TLS和HTTPS的流量的路由规则列表
  tls:
  - match:
    - port: 443
      sniHosts:
      - login.bookinfo.com
    route:
    - destination:
        host: login.prod.svc.cluster.local

  # 透传tcp流量的有序路由规则列表,对所有HTTP和TLS之外的端口生效
  tcp:
  - match:
    - port: 27017
    route:
    - destination:
        host: mongo.backup.svc.cluster.local
        port:
          number: 5555
演示
创建两个对应的http server
httpd:
apiVersion: apps/v1
kind: Deployment
metadata:
  name: httpd
  labels:
    server: httpd
    app: web
spec:
  replicas: 1
  selector:
    matchLabels:
      server: httpd
      app: web
  template:
    metadata:
      labels:
        server: httpd
        app: web
    spec:
      containers:
      - name: busybox
        image: busybox
        imagePullPolicy: IfNotPresent
        command: ["/bin/sh", "-c", "echo 'this is httpd' > /var/www/index.html; httpd -f -p 8080 -h /var/www"]

---
apiVersion: v1
kind: Service
metadata:
  name: httpd-svc
spec:
  selector:
    server: httpd
  ports:
  - name: http
    port: 8080
    targetPort: 8080
    protocol: TCP
tomcat
apiVersion: apps/v1
kind: Deployment
metadata:
  name: tomcat
  labels:
    server: tomcat
    app: web
spec:
  replicas: 1
  selector:
    matchLabels:
      server: tomcat
      app: web
  template:
    metadata:
      labels:
        server: tomcat
        app: web
    spec:
      containers:
      - name: tomcat
        image: docker.io/kubeguide/tomcat-app:v1
        imagePullPolicy: IfNotPresent

---
apiVersion: v1
kind: Service
metadata:
  name: tomcat-svc
spec:
  selector:
    server: tomcat
  ports:
  - name: http
    port: 8080
    targetPort: 8080
    protocol: TCP
Busy box进入容器中测试 ```yaml apiVersion: apps/v1 kind: Deployment metadata: name: hexiaohong-client spec: replicas: 1 selector:
matchLabels:
  app: hexiaohong-client
template:
metadata:
  labels:
    app: hexiaohong-client
spec:
  containers:
  - name: busybox
    image: busybox
    imagePullPolicy: IfNotPresent
    command: ["/bin/sh", "-c", "sleep 3600"]
apiVersion: v1 kind: Service metadata: name: web-svc spec: selector: app: hexiaohong-client ports:
 - name: http
   port: 8080
   targetPort: 8080
   protocol: TCP
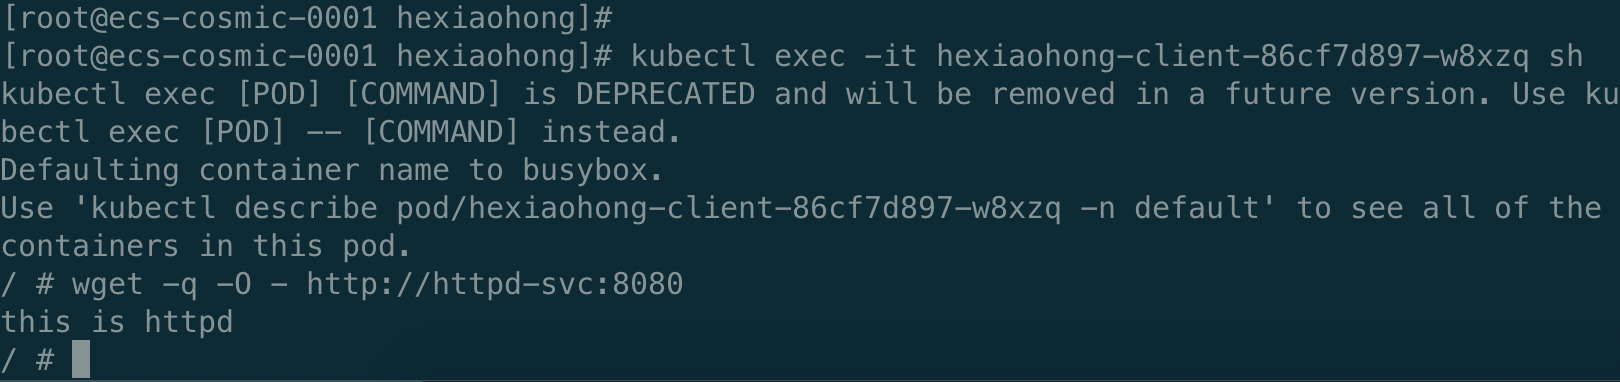
### 进入busybox测试
1. httpd
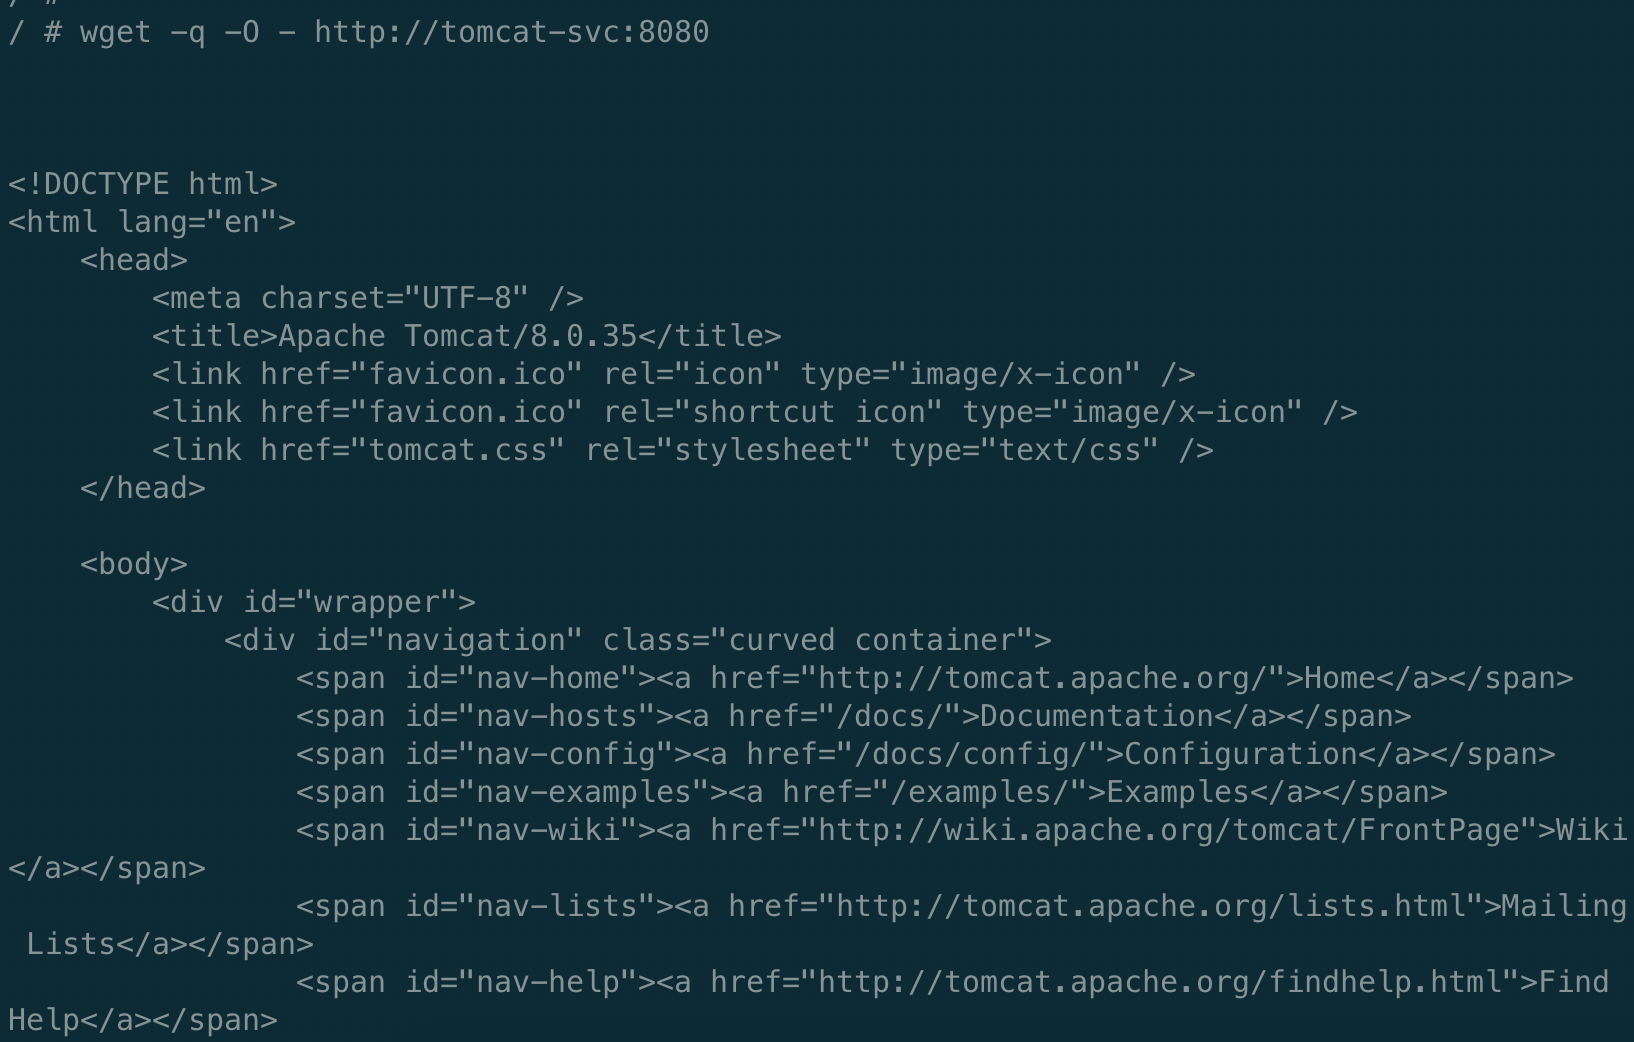
2. tomcat
### 创建VirtualService实现流控
1. 创建VirtualService
```yaml
apiVersion: networking.istio.io/v1alpha3
kind: VirtualService
metadata:
name: web-svc-vs
spec:
hosts:
- web-svc.default.svc.cluster.local
http:
- route:
- destination:
host: httpd-svc
weight: 80
- destination:
host: tomcat-svc
weight: 20
- 查看VirtualService:
   # kubectl get virtualservices.networking.istio.io

   NAME         GATEWAYS               HOSTS                                   AGE
   bookinfo     ["bookinfo-gateway"]   ["*"]                                   31h
   web-svc-vs                          ["web-svc.default.svc.cluster.local"]   43s
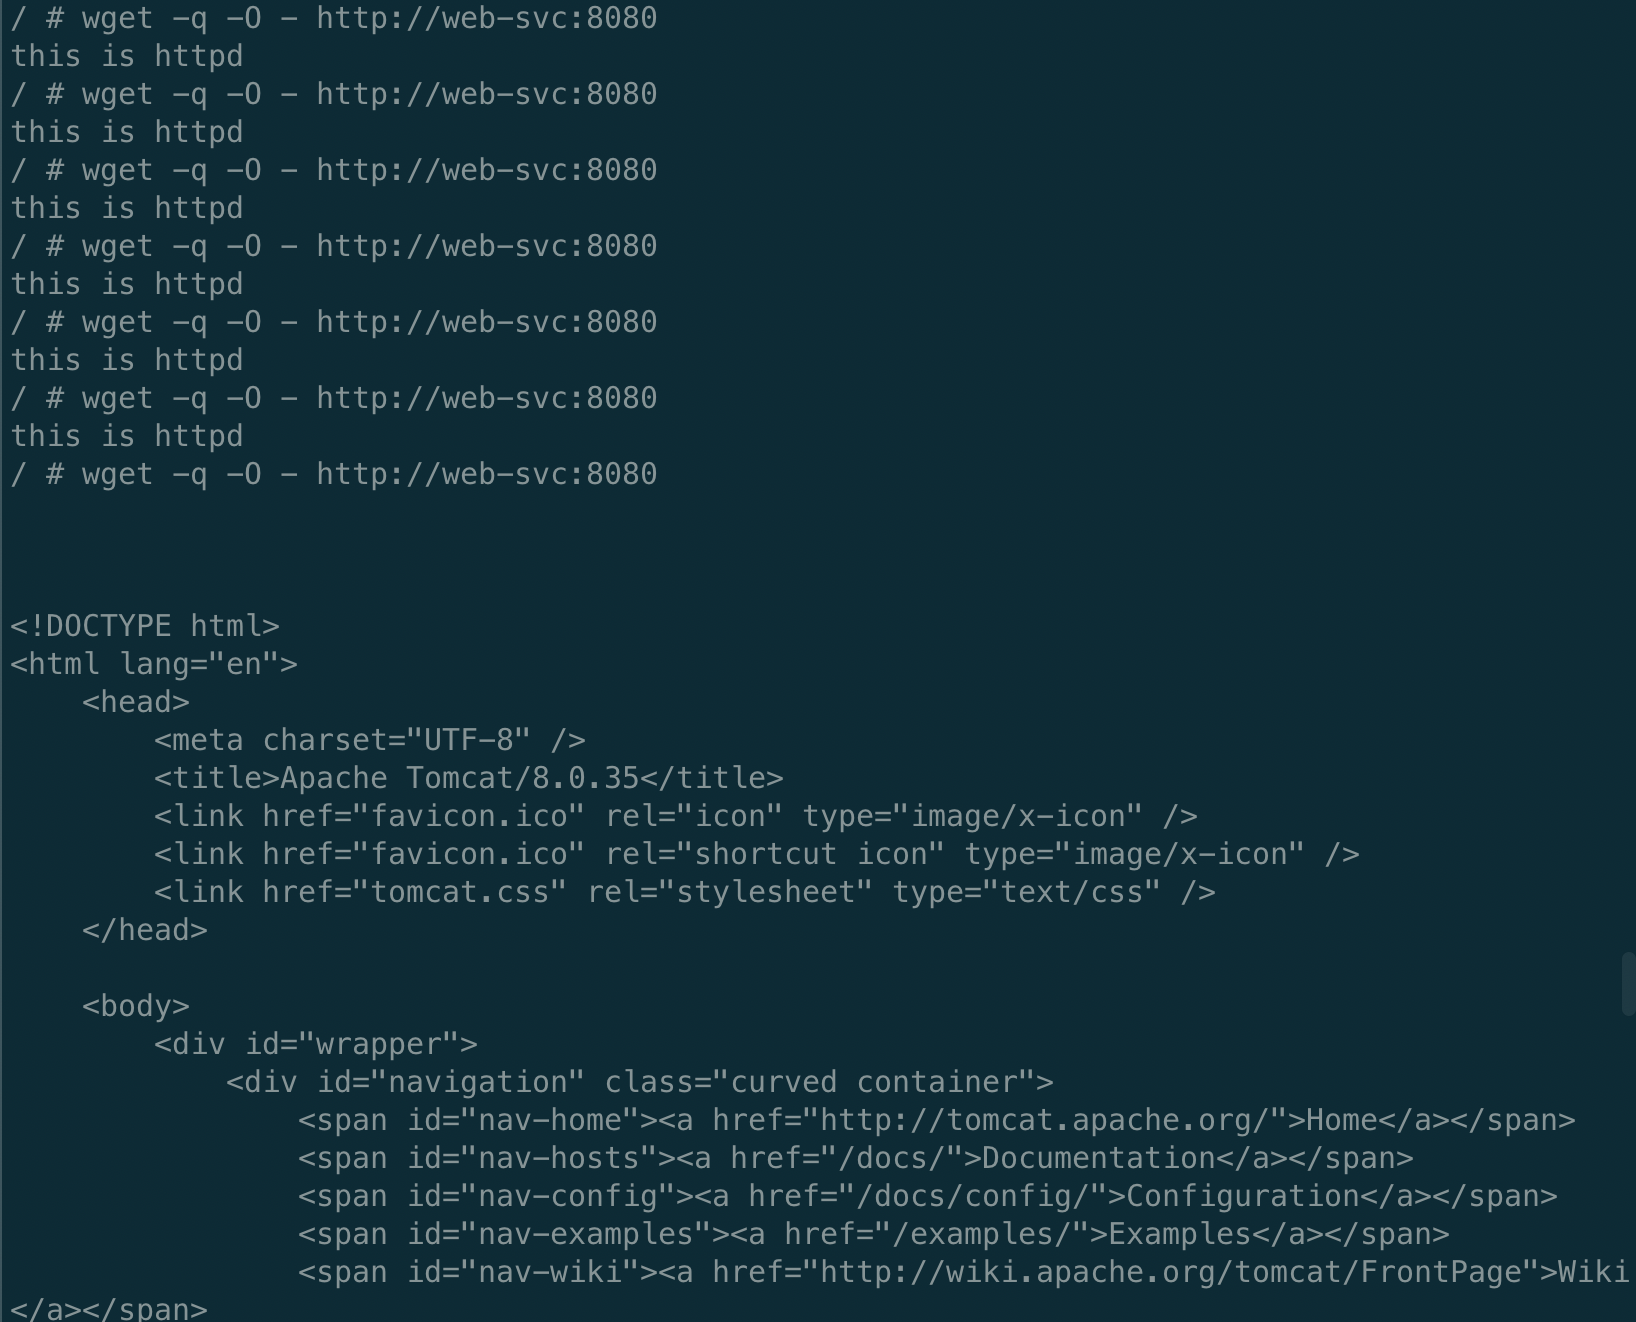
- 80%流量到httpd,20%到tomcat
创建VirtualService实现路由
创建带匹配条件的VirtualService
apiVersion: networking.istio.io/v1alpha3
kind: VirtualService
metadata:
name: web-svc-vs
spec:
hosts:
- web-svc.default.svc.cluster.local
http:
- match:
   - headers:
         to:
             exact: httpd
   route:
 - destination:
     host: httpd-svc
- route:
 - destination:
     host: tomcat-svc
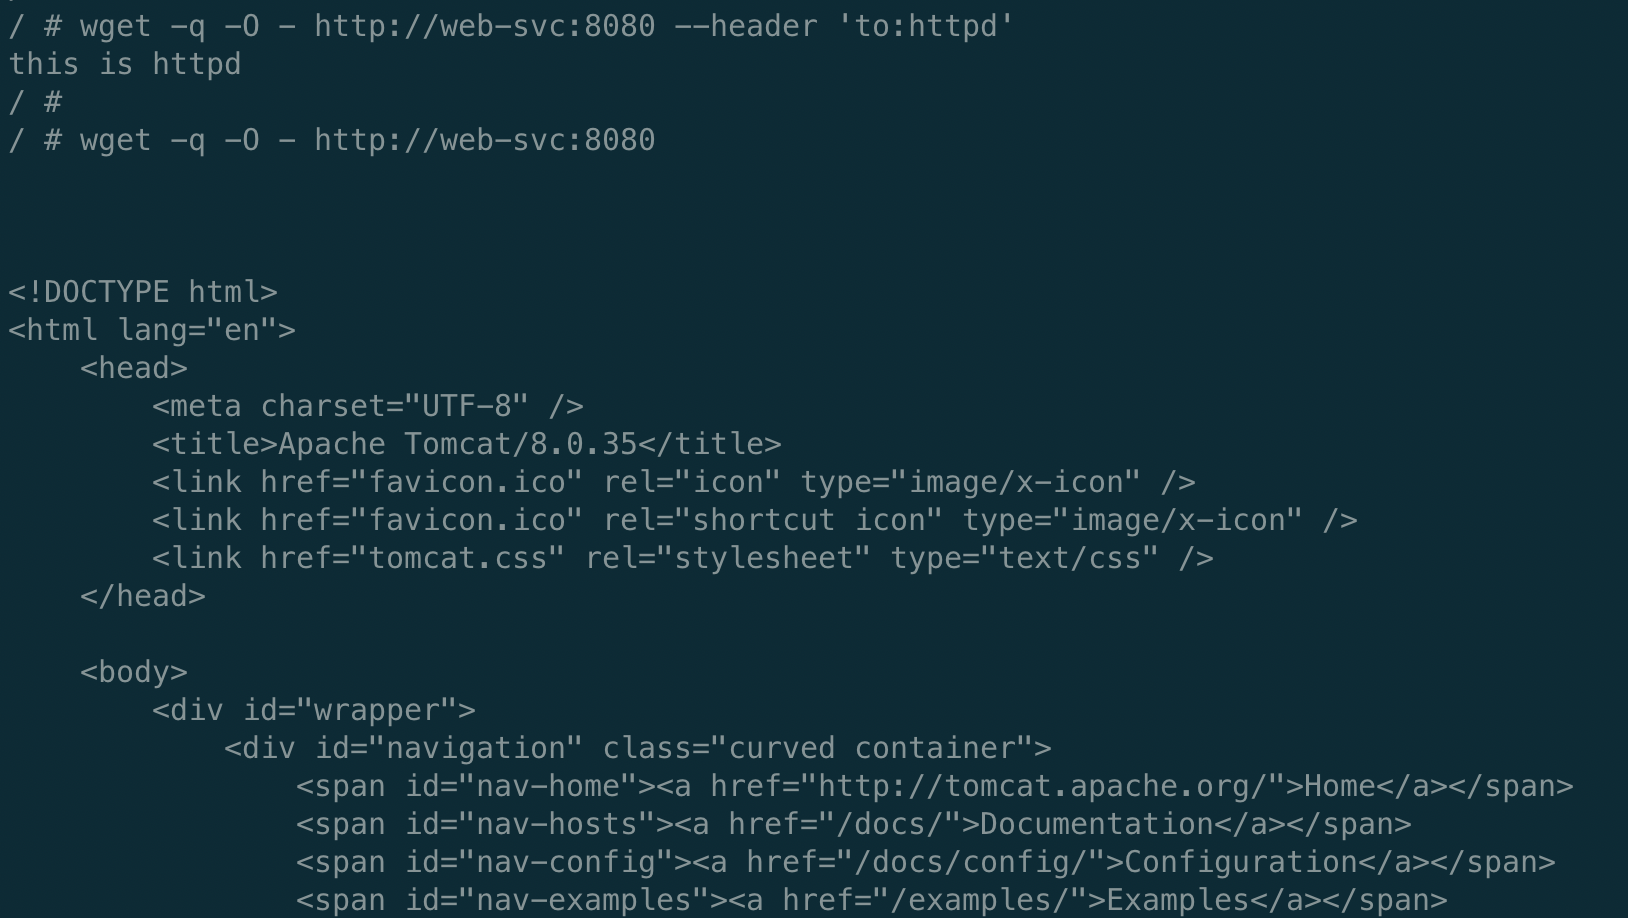
- 携带header:'to: httpd'将流量导入httpd,否则则到tomcat
样例来自学习九析大佬的教程